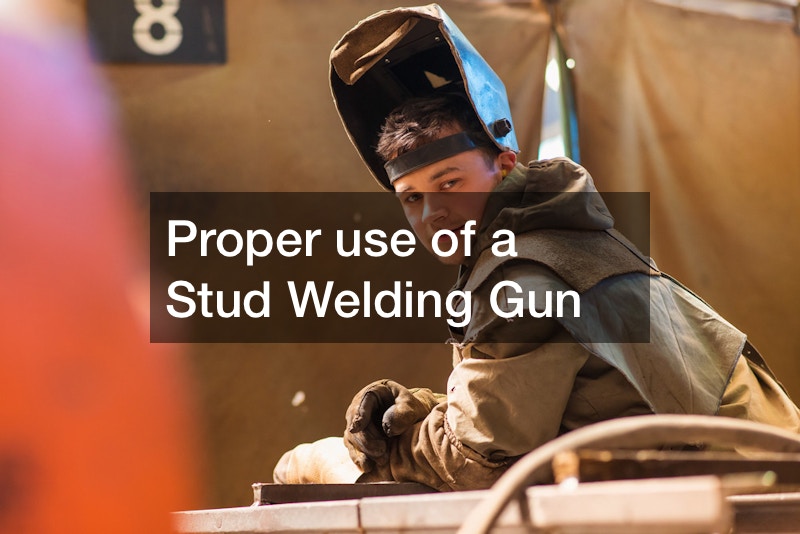
Proper use of a Stud Welding Gun is essential for the quality and safety of any stud welding project. Depending on the material being welded, different types of guns may be needed to create a strong bond between two pieces. The gun should have an adjustable air pressure setting that can be set to match the appropriate power level needed for the job. Be sure to follow all safety instructions provided with your Stud Welding Gun and wear protective gear, such as goggles and gloves, when welding.
For best results, use only high-quality studs that are clean and free of imperfections. Additionally, make sure you have a clean work surface before beginning your project.
Stud Weld
A stud weld is a type of welding process used to join two pieces of metal together. This technique is often simpler and faster than traditional welding methods, and it creates a strong, reliable joint. The process involves inserting a metal stud or bolt into the metal being welded and then applying heat or pressure until the metal melts
Before starting each weld, check to ensure that there is no dust or other contaminants in contact with the metal surfaces to avoid creating cracks or weak spots in the weld.
For correct positioning of the stud and workpiece, use a jig or fixtures. When using a Stud Welding Gun, make sure to keep it at least 1/2 inch away from the surfaces being joined to prevent overheating that could cause damage to your materials.
After applying the studs, ensure that all connections are secure and properly aligned before welding them together. Finally, remember to let each piece cool for several minutes after welding before removing them so that you ensure a strong bond between both pieces.
Following these steps will help you create successful and safe welds every time you use your Stud Welding Gun. With consistent practice and careful attention to detail when setting up your project, you can achieve excellent welds with the right tools and techniques.

